Growing up in the sweltering heat that can be the Indian summer, most of us have distinct ice cream memories. I would come home from school on hot summer days with thoughts of ice cream crowding my mind, and wait longingly for the jingle of the ice cream man's cart. Depending on my mother’s mood and my own state of health, my dreams would either come crashing down or achieve ecstatic fruition in the form of a divine chocobar, cassata or creamy nutty butterscotch scooped into a crisp cone.As I grew a tad older I would give in to the six kilometers cycle ride in the evening to attend basketball coaching with the sole focused aim of clandestinely stopping at my favourite market midway and picking up a chocolate bar that I would finish even as I cycled back with a tune in my head. My mother would be none the wiser. Or so I thought.(Also read: Ice cream Vs. Frozen dessert - The Chilling Truth)

But all of those stolen ice creams never filled the bottomless pit of ice cream greed that was my tummy. Devoted to this elusive dessert, I decided that the only way I could ever have enough of it was if I knew how to make it myself. And so I embarked on the mission to replicate the creamy cold magic of ice cream in my kitchen. And failed a zillion times!
For well over two and a half decades, mission ice cream was a mission impossible. From attempts that resulted in something akin to frozen roohafza to the ones I made a couple of decades later (involving French custard, endless whipping and broken arms); most tries lead to much ice and not enough creaminess. In between were versions that involved everything from malai to whipped cream, milk, mawa barfi (yummy but not ice cream by any yardstick), custards, chocolate pudding, mango milkshake, whipped egg whites and more. The inevitable conclusion seemed to be: no ice cream machine = no churning = rogue icicles in your more-ice-and-less-cream dessert.(Also read: 7 Best Ice Cream Recipes)

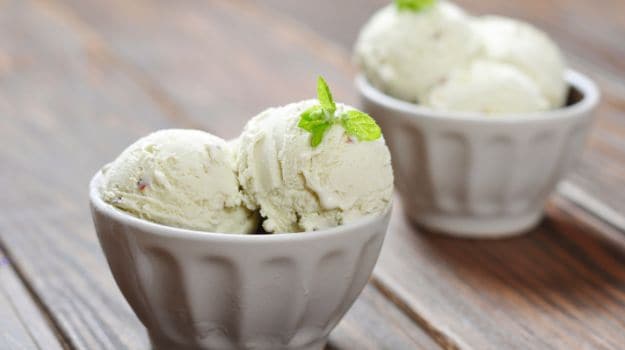
And then last year, I finally hit pay dirt – I stumbled on an article that spoke of how a few traditional creameries in Europe were cranking out artisanal ice cream without machines! The secret apparently is in using condensed milk to reduce water content (I know! The one ingredient I turned my nose up to) and a bit of alcohol to inhibit the formation of icicles. Despite my skepticism at such a simple trick after all my complicated attempts, it seemed worth a shot. And yes of course - a perfectly smooth, icicle-free ice cream that had me skipping around the kitchen singing praises to the lord (and I'm not even devout).This is how I now proclaim with absolute confidence that this is absolutely the velvety dessert I spent much of my youth begging, borrowing and stealing for. The best (or depending on whether your waistline enters the equation, the worst) part of this ice cream is that it is incredibly easy, comes together quickly and is infinitely adaptable. The basic formula is just three ingredients but the technique is pretty foolproof and the result is fantastic. The fact that it lends itself to endless flavour combinations only makes this better!(Also read: 10 Ice Cream Flavours You'd be Crazy (Not) to Try!)

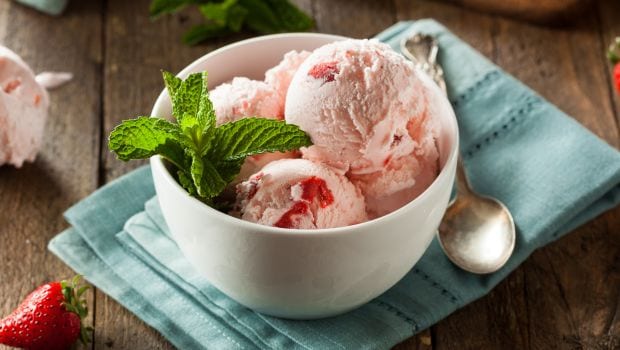
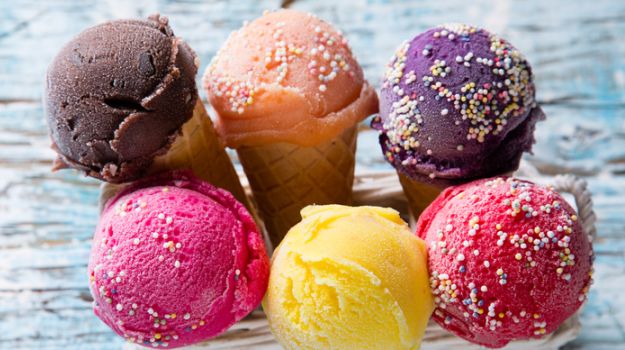
Since this is now my must-do dessert for parties, I've tried loads of flavour variations. Cucumber and vanilla (not everyone’s cup of tea but my absolute favourite), mocha and caramelised banana with chocolate chunks, cinnamon with buttered caramel, strawberry with mint and white chocolate, and dark chocolate brownies with chocolate fudge.Each time the ice cream has been a raving success with guests swearing that this is the best ice cream they've ever eaten - flavourful, soft, rich, fluffy and satin-smooth. Because the flavour ingredients and additions are all freshly prepared they shine beautifully in the creamy silky base of the ice cream and taste much better than most shop-bought versions. And nope, there’s never a single heartbreaking icicle in sight.(Also read: Ginger Ice-Cream and Chocolate Cones for a Summer Heatwave) Basic Formula – Hand-made ice cream1 can (400 gm) condensed milk
2 cups whipping cream
3 Tbsp vodka or any alcohol
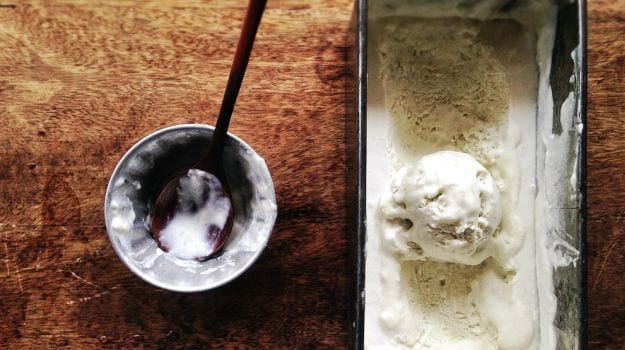
1-2 tsp vanilla extract or seeds scraped from one whole vanilla podMETHOD1. To start with, make sure the cream, the vessel in which you plan to whip it and the whisk are all cold. I pop all of these in the freezer for about 20 minutes and that works like a charm. In summers you would do better to immerse your whipping bowl in an ice bath as you whisk your cream. I would strongly recommend using an electric beater (like a cake mixer with the whisk extention) though strong arms and determination should make this successful with manual whisking too.2. Now, whisk the cream till it thickens and forms soft peaks when you lift the beater/whisk. If using an electric mixer, start on medium speed to prevent splattering, then speed up to high. Initially, it may take some time for the cream to thicken, but if your cream is whipping cream or high fat dairy cream and is cold enough, you will definitely see it starting to thicken. As the cream thickens, slow down and whisk at low again. Make sure that you stop whisking the cream before it gets too stiff, splits and turns into butter. Trust me, this can happen in the blink of an eye if you aren't watching and before you know it your ice cream will turn into a lumpy, grainy irretrievable mess.3. Mix the condensed milk with the vanilla, vodka and add in other liquid flavourings that you want mixed in. Fold the whisked cream gently into this mixture. Don't stir vigorously or you with loose the airiness and all your handwork so far.4. Pour your ice-cream into a box with a lid (I use my bread loaf pans) and freeze for atleast 12 hours. (If I want to add solid additions I often add them in between layers of the ice-cream at this stage - for example 2-3 finely chopped mangos would be great for summer!).Disclaimer: The opinions expressed within this article are the personal opinions of the author. The facts and opinions appearing in the article do not reflect the views of NDTV and NDTV does not assume any responsibility or liability for the same.
But all of those stolen ice creams never filled the bottomless pit of ice cream greed that was my tummy. Devoted to this elusive dessert, I decided that the only way I could ever have enough of it was if I knew how to make it myself. And so I embarked on the mission to replicate the creamy cold magic of ice cream in my kitchen. And failed a zillion times!
For well over two and a half decades, mission ice cream was a mission impossible. From attempts that resulted in something akin to frozen roohafza to the ones I made a couple of decades later (involving French custard, endless whipping and broken arms); most tries lead to much ice and not enough creaminess. In between were versions that involved everything from malai to whipped cream, milk, mawa barfi (yummy but not ice cream by any yardstick), custards, chocolate pudding, mango milkshake, whipped egg whites and more. The inevitable conclusion seemed to be: no ice cream machine = no churning = rogue icicles in your more-ice-and-less-cream dessert.(Also read: 7 Best Ice Cream Recipes)
And then last year, I finally hit pay dirt – I stumbled on an article that spoke of how a few traditional creameries in Europe were cranking out artisanal ice cream without machines! The secret apparently is in using condensed milk to reduce water content (I know! The one ingredient I turned my nose up to) and a bit of alcohol to inhibit the formation of icicles. Despite my skepticism at such a simple trick after all my complicated attempts, it seemed worth a shot. And yes of course - a perfectly smooth, icicle-free ice cream that had me skipping around the kitchen singing praises to the lord (and I'm not even devout).This is how I now proclaim with absolute confidence that this is absolutely the velvety dessert I spent much of my youth begging, borrowing and stealing for. The best (or depending on whether your waistline enters the equation, the worst) part of this ice cream is that it is incredibly easy, comes together quickly and is infinitely adaptable. The basic formula is just three ingredients but the technique is pretty foolproof and the result is fantastic. The fact that it lends itself to endless flavour combinations only makes this better!(Also read: 10 Ice Cream Flavours You'd be Crazy (Not) to Try!)
Since this is now my must-do dessert for parties, I've tried loads of flavour variations. Cucumber and vanilla (not everyone’s cup of tea but my absolute favourite), mocha and caramelised banana with chocolate chunks, cinnamon with buttered caramel, strawberry with mint and white chocolate, and dark chocolate brownies with chocolate fudge.Each time the ice cream has been a raving success with guests swearing that this is the best ice cream they've ever eaten - flavourful, soft, rich, fluffy and satin-smooth. Because the flavour ingredients and additions are all freshly prepared they shine beautifully in the creamy silky base of the ice cream and taste much better than most shop-bought versions. And nope, there’s never a single heartbreaking icicle in sight.(Also read: Ginger Ice-Cream and Chocolate Cones for a Summer Heatwave)
 Basic Formula – Hand-made ice cream1 can (400 gm) condensed milk
2 cups whipping cream
3 Tbsp vodka or any alcohol
1-2 tsp vanilla extract or seeds scraped from one whole vanilla podMETHOD1. To start with, make sure the cream, the vessel in which you plan to whip it and the whisk are all cold. I pop all of these in the freezer for about 20 minutes and that works like a charm. In summers you would do better to immerse your whipping bowl in an ice bath as you whisk your cream. I would strongly recommend using an electric beater (like a cake mixer with the whisk extention) though strong arms and determination should make this successful with manual whisking too.2. Now, whisk the cream till it thickens and forms soft peaks when you lift the beater/whisk. If using an electric mixer, start on medium speed to prevent splattering, then speed up to high. Initially, it may take some time for the cream to thicken, but if your cream is whipping cream or high fat dairy cream and is cold enough, you will definitely see it starting to thicken. As the cream thickens, slow down and whisk at low again. Make sure that you stop whisking the cream before it gets too stiff, splits and turns into butter. Trust me, this can happen in the blink of an eye if you aren't watching and before you know it your ice cream will turn into a lumpy, grainy irretrievable mess.3. Mix the condensed milk with the vanilla, vodka and add in other liquid flavourings that you want mixed in. Fold the whisked cream gently into this mixture. Don't stir vigorously or you with loose the airiness and all your handwork so far.4. Pour your ice-cream into a box with a lid (I use my bread loaf pans) and freeze for atleast 12 hours. (If I want to add solid additions I often add them in between layers of the ice-cream at this stage - for example 2-3 finely chopped mangos would be great for summer!).Disclaimer: The opinions expressed within this article are the personal opinions of the author. The facts and opinions appearing in the article do not reflect the views of NDTV and NDTV does not assume any responsibility or liability for the same.
Advertisement
