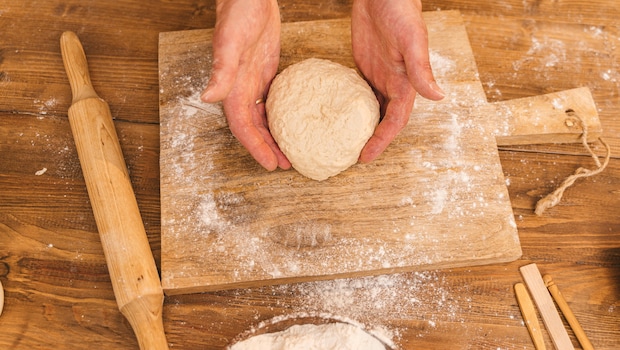
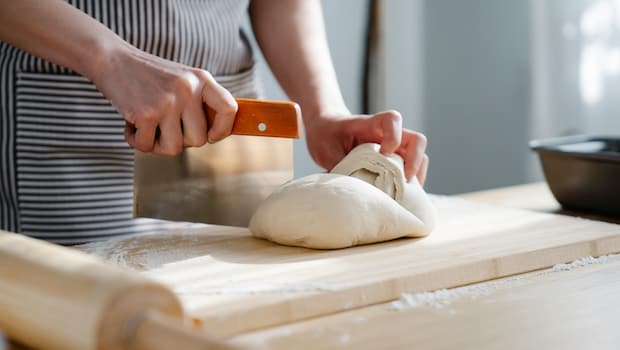
Have you ever tasted a loaf of freshly baked bread, straight out of the oven? It is warm, pillowy, and so delicious that once you have it, you might never go back to store-bought slices again. Moreover, there is something deeply satisfying about baking your own bread. The gentle act of mixing flour, water, yeast, and salt quickly turns into a tiny kitchen adventure, where patience, intuition, and a hint of culinary magic work quietly together. If you have baked at home before, you know that feeling when your dough rises beautifully, and the joy of slicing into a loaf that crackles as it cools. But somewhere between kneading and baking comes the big question: how do you know when your dough is truly ready?
Whether you are preparing a batch of simple pav, tackling an ambitious sourdough, or just kneading away your stress, learning to recognise the signs of a well-proofed dough is key. And the best part? You do not need fancy equipment or technical know-how. Let us decode how to proof your dough in five practical ways.
Also Read: How To Make Eggless Pav In Under 30 Mins

Photo Credit: Pexels
Here Are 5 Ways To Know If Your Bread Dough Is Ready:
1. Use The Finger Test To Check Dough Readiness
This tried-and-tested method is wonderfully simple. Lightly press your finger into the dough's surface. If the indentation springs back slowly and leaves a slight dent, it is ready. If the dough springs back instantly, it needs more time. And if it collapses or does not bounce back at all, it may be over-proofed. It is alright - you can still bake it and enjoy a denser loaf.
2. Check If Your Dough Has Doubled In Size
Your dough should roughly double in volume during its first proofing. This usually takes 45 minutes to 2 hours, depending on room temperature and yeast activity. In Indian kitchens, where it tends to be warmer, proofing might happen faster. To track it easily, use a clear bowl and mark the starting height with a rubber band. When it reaches double that size, it is time to move forward.
Also Read: 5 Tips To Store Sourdough Bread At Home
3. Try The Windowpane Test For Gluten Development
This process is interesting. Pinch off a small piece of dough and gently stretch it. If it forms a thin, translucent sheet, like a windowpane, without tearing, your gluten is well developed and ready for shaping. If it rips too fast, it might need more kneading or a longer rest.
4. Smell The Dough For Yeast Activity
A well-proofed dough will have a sweet, yeasty aroma, almost like fresh pav. If it still smells like raw flour, it probably needs more time. Sour or sharp smells suggest over-fermentation, which is fine for sourdough, but might alter the texture in regular breads.
Also Read: Kneaded Excess Atta Dough? Store It Safely With 5 Genius Tips

Photo Credit: Pexels
5. Spot Surface Bubbles On High-Hydration Doughs
In doughs with higher hydration, like ciabatta or focaccia, you might notice tiny bubbles or blisters forming near the surface. That is a sign the yeast is active, and fermentation is going strong. These visual hints often appear near the edges. So, keep an eye out.
Final Tip: Trust Your Senses While Baking Bread
The secret to a good dough lies in paying attention to the little cues - watch it grow, smell its journey and feel its strength. The more you bake, the more intuitive it becomes.
About Somdatta SahaExplorer- this is what Somdatta likes to call herself. Be it in terms of food, people or places, all she craves for is to know the unknown. A simple aglio olio pasta or daal-chawal and a good movie can make her day.


